21 Mar How To Make An Easter Bunny Headband And Tail
Celebrate Easter with this simple craft activity for kids’ – it might come in handy for the school hat parade too!
To help build excitement in the lead-up to the arrival of the Easter Bunny, why not try this simple craft activity with your kids.
You’ll Need
– An A2 sheet of white cardboard (available at most newsagencies and craft stores)
– 3 sheets of pink tissue paper (crepe paper or scraps of fabric would also work)
– Scissors
– Pencil
– Ruler
– Stapler
– Glue
– 3 black pipe-cleaners
– Stick-on velcro dots (available at most craft stores and some office supply stores)
– Sticky tape
How To
Bunny Ears And Nose
To make the bunny ears you will need a long, skinny rectangular piece of cardboard for the headband and two cardboard bunny ears.
For the headband, start by laying the sheet of white cardboard horizontally in front of you. Measure about 5cm from the bottom edge with the ruler, and mark with your pencil along the length of the cardboard. Draw a straight line to join your markings, then cut along the line with scissors. Set your headband piece aside.
For the bunny ears, freehand draw two ears to your liking onto the white cardboard. Cut them out and set aside.
To create a nose, use a small round object about 3cm in diameter (such as a milk bottle top) as a template, and trace around it onto the white cardboard. Cut out and set aside.
Next, measure and draw a small rectangle about 4cm by 6cm onto the white cardboard, then cut it out. This will be used to attach your nose to the headband.
Bunny Tail
To make the bunny tail you will need to measure, draw and cut out another long, skinny rectangular piece of cardboard, following the instructions for the headband above. Next, trace around a drinking glass to create a larger circle for your bunny tail. Cut out and set aside.
Decorating Your Bunny Ears and Tail
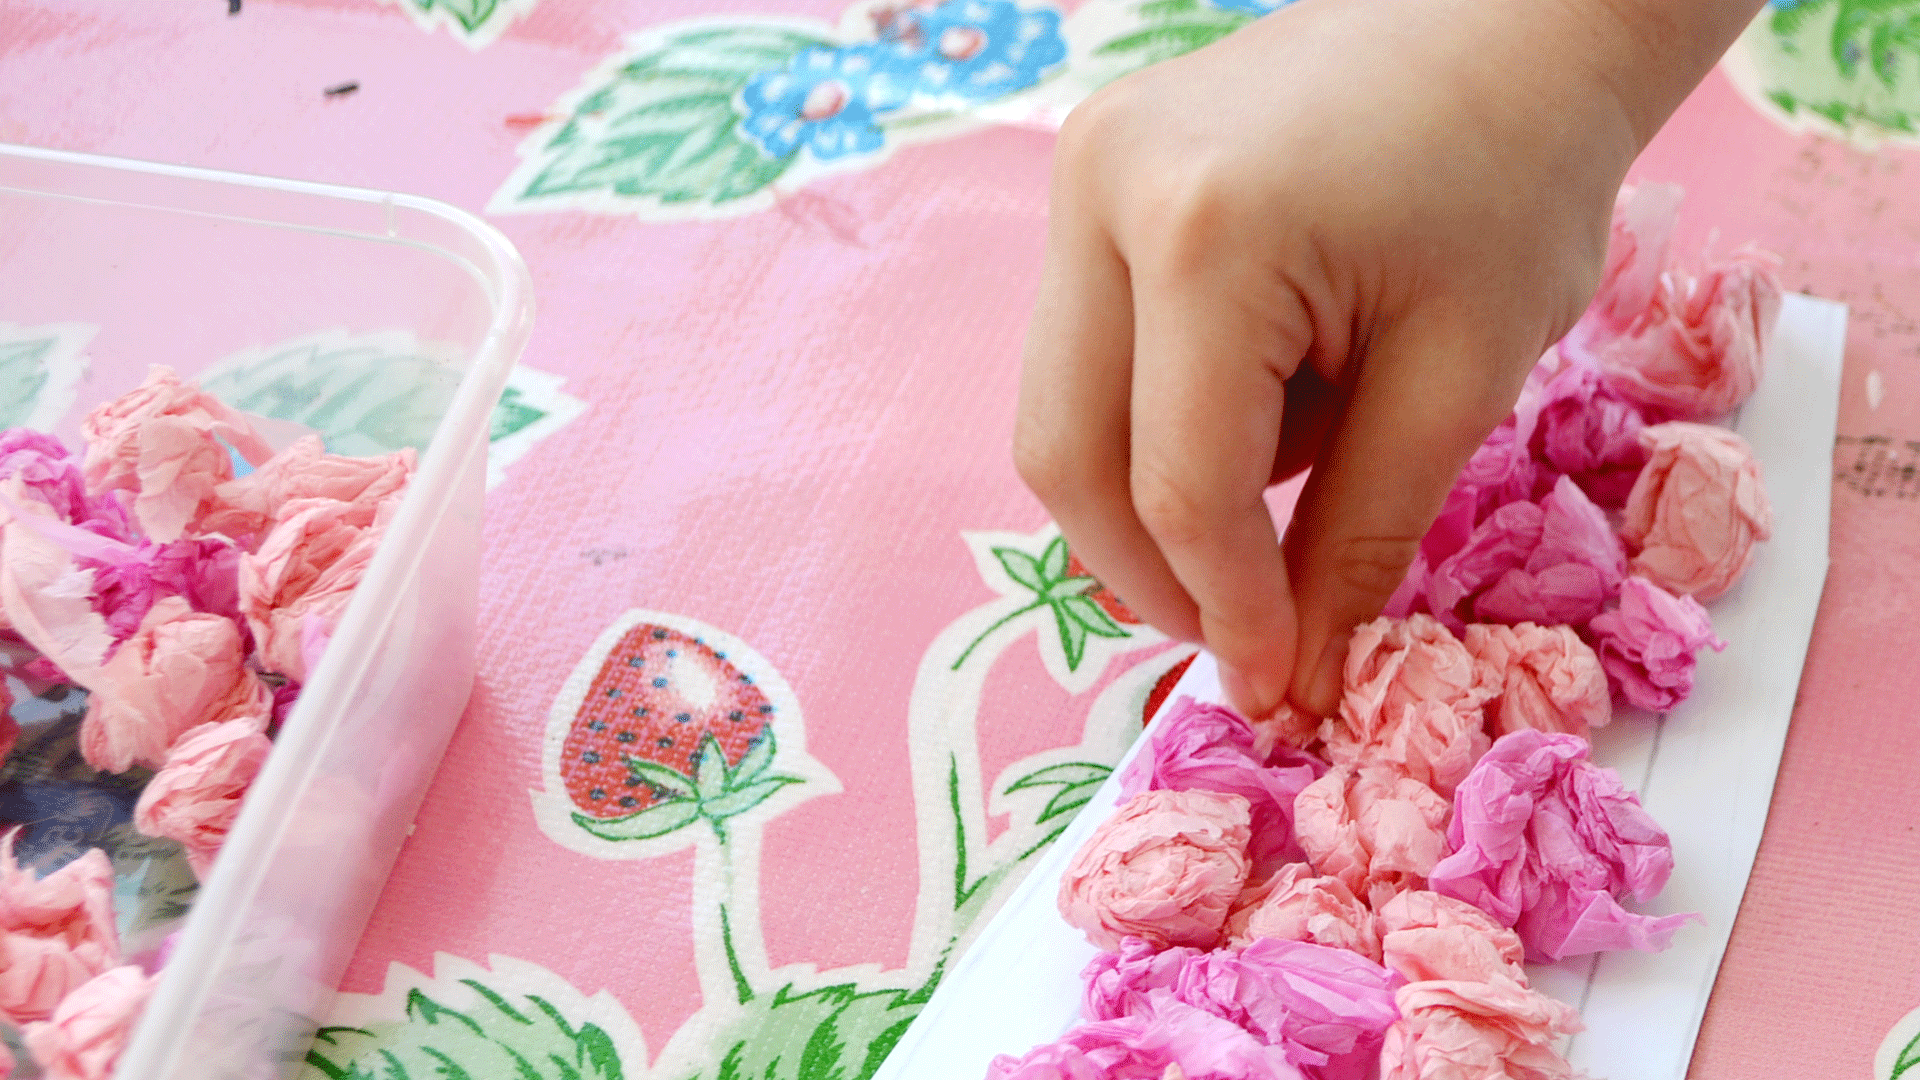
Rip off small pieces of your tissue paper and scrunch up to create little balls. You can make these as big or as small as you like.
Once you have a large collection of these tissue-paper balls, use them to decorate your bunny. Glue them to the ears, nose and tail pieces, then set aside to dry.

Assembling Your Bunny Headband And Tail
Once the glue has dried, staple the ears to the centre of your headband piece. Next, staple the small rectangle in between the ears on the bottom of the headband piece, so that it will hang over your child’s nose. Cover the staples with tape to protect from scratching your child’s face.
Staple three pipe-cleaners to the back of your nose piece, so the ends of the pipe-cleaners stick out either side of the nose, as shown in the picture. Glue the nose piece to the small rectangle that is attached to your headband.
Glue your bunny tail circle piece to the centre of the second long, skinny cardboard piece.
You can either staple the bunny ear headband and bunny tail belts to a size that will fit your child’s head and waist (remembering to cover with tape so it won’t scratch them), or you can use the velcro sticker dots so your child can easily remove or adjust them over their clothing.
Happy Easter!
Teresa Howard is mum to four-year-old Amelie. They enjoy completing mother-daughter craft projects together.
Words by Teresa Howard