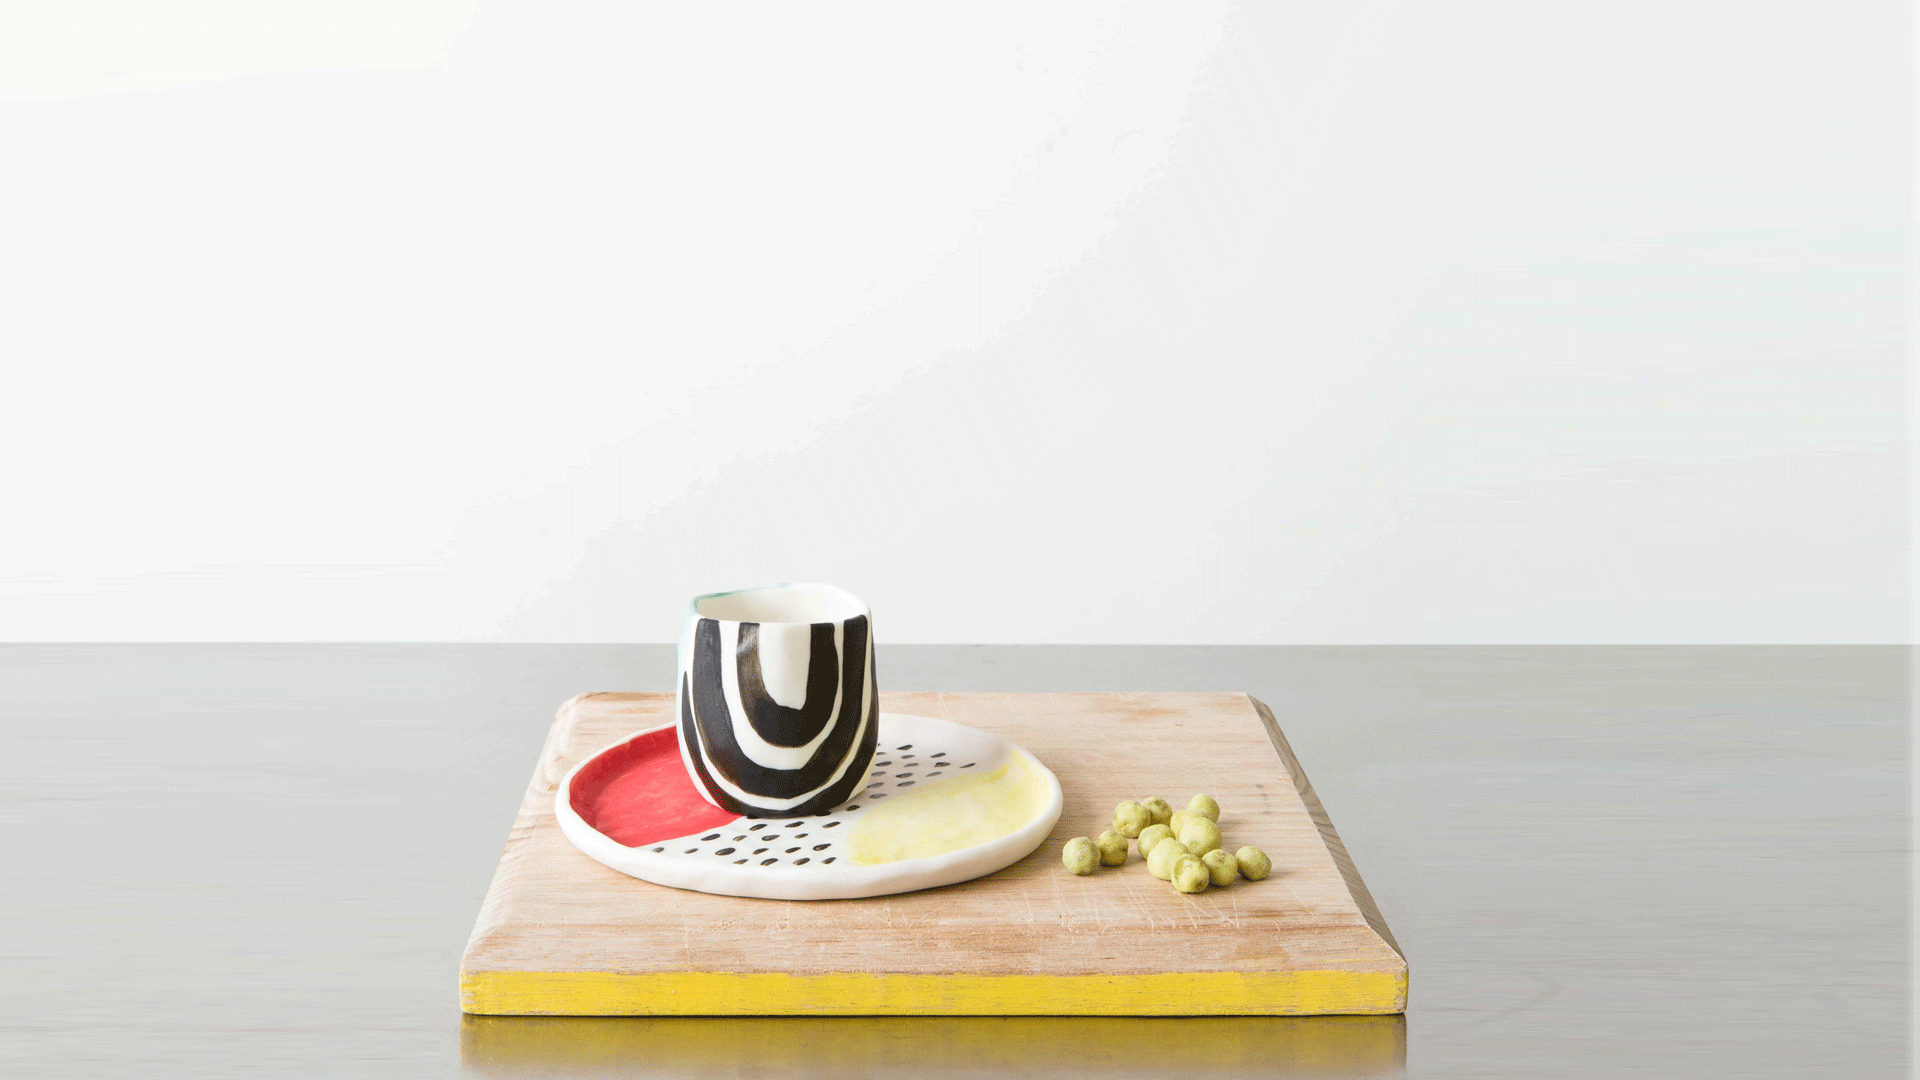
11 Jan DIY Sake + Snack Set
Nothing goes better with an Akira Kurosawa movie marathon than a handcrafted sake and snack set. Make one for yourself or a set for your friends, plate up some edamame, warm your sake and get ready to watch Seven Samurai.
You’ll need
A portion of prepared porcelain clay the size of a large orange
Rolling pin Sponge Brushes
Underglaze (we used black, pinky red, yellow and turquoise)
Access to a communal or hire kiln Fine grit sandpaper
How To
To make the plate
First make a ball of clay around the size of a tennis ball. Flatten it out using the palm of your hand until it’s about 4cm thick, then use your rolling pin to roll it out into what will look like a clay pancake.
Work from the centre out and move around to keep your clay even and circular. Keep rolling until your clay is around 5mm thick.
Using your fingertips, start gently turning up the sides around your circle so that you have a little lip around 5mm high. Set aside somewhere safe and leave to dry.
To make your sake cup
Make a ball of clay around the size of a golf ball.
Holding the ball in your left hand, use your right thumb to make a depression in the centre of the clay.
Start rotating the ball in your left hand, maintaining pressure against the ‘walls’ of the pot to open it up into a cup shape.
Thin the walls further, either in your hand or by pinching your cup walls from bottom to top on a flat work surface.
Once your cup walls are between 1 and 2mm thick, use a damp sponge to ensure that the top edge is nice and smooth.
Remember, you’re going to be putting this into your mouth! Once this is done, set it aside with your plate and leave it to air dry for two to three days.
When your work is completely dry, use a damp sponge to smooth out any anomalies or tiny cracks that may have appeared while it was drying. If you don’t cover a crack now, it’ll only crack further in the kiln and not be useable for food.
Decorate both plate and cup with a brush dipped in your underglazes. You can water them down to create a translucent wash or keep them creamy and use them like acrylics, which gives you loads of design and mark-making possibilities.
Once your underglaze has completely dried, take your set off to the communal or hire kiln for firing at 1220 degrees Celsius.
After firing, check the lip of your cup and, if necessary, give it a light sandpapering until it feels smooth to touch. Kampai!
Tip: These unglazed pieces are fine for light liquors and snacks, but if you’re more of a coffee or red wine drinker, be warned that they will stain with repeated use. If you want to keep your pieces pristine, we advise opting for a secondary firing with a clear glaze.
 This project is from The Craft Companion: The A-Z Guide to Modern Crafting by Ramona Barry and Rebecca Jobson, published by Thames & Hudson, RRP $65, available now.
DIY Images by Hilary Walker

